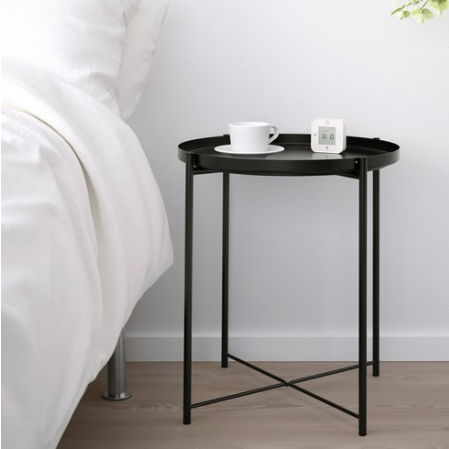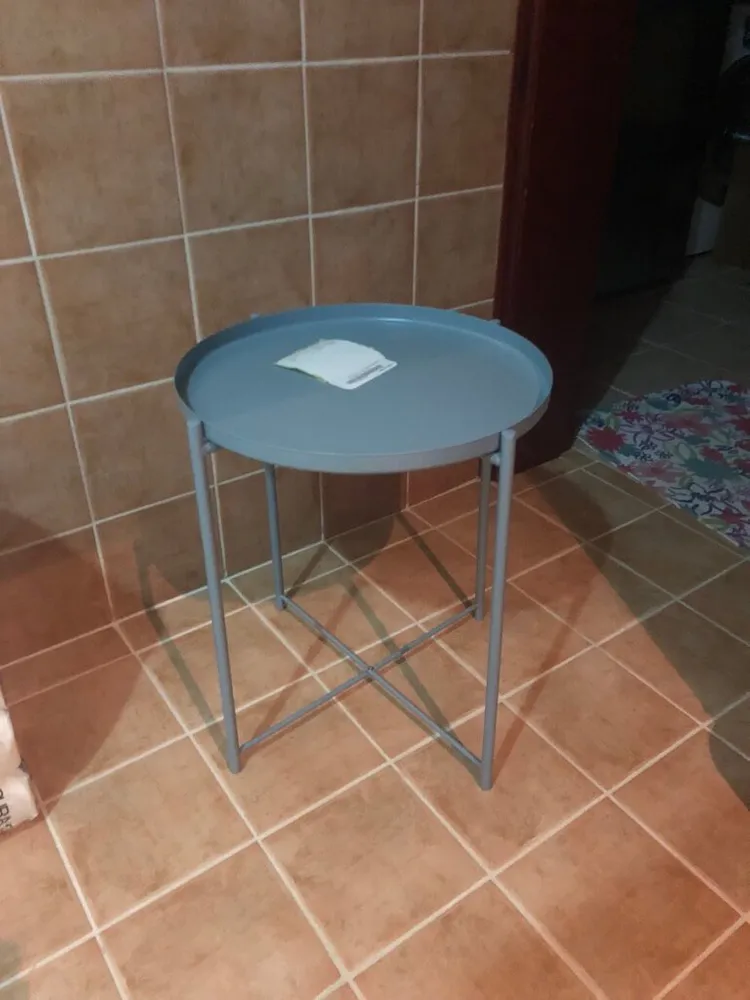
안녕하세요 이케아 헤커스의 아스키입니다. 오늘은 심플한 글라돔 테이블을 100만 원짜리 테이블로 만드는 마법을 소개하고자 합니다. 이케아 제품은 워낙 노멀하고 심플한 제품이 많기 때문에 고급스러운 제품은 오히려 찾기 쉽지 않은데요 가끔은 스프레이와 시트지를 통해 멋지고 고급진 인테리어에 어울리는 소품을 만들어 본다면 어떨까요?
자 시간은 금입니다! 지금부터 설명 들어갈까요?
Hello, this is Ikea Heckers' ASCII. Today, I would like to introduce the magic of turning a simple Gladom table into a one-million won table. Because there are so many normal and simple IKEA products, it is rather difficult to find luxurious products. How about making accessories that go well with stylish and luxurious interiors through spray and sheet paper?
사용한 IKEA 품목 :
GLADOM 트레이 테이블 (검은색을 추천합니다.)
기타 재료 및 도구 :
블랙 광택 스프레이 페인트 (글라돔 테이블이 블랙이라면 구입할 필요가 없습니다.)
메탈릭 골드 스프레이 페인트
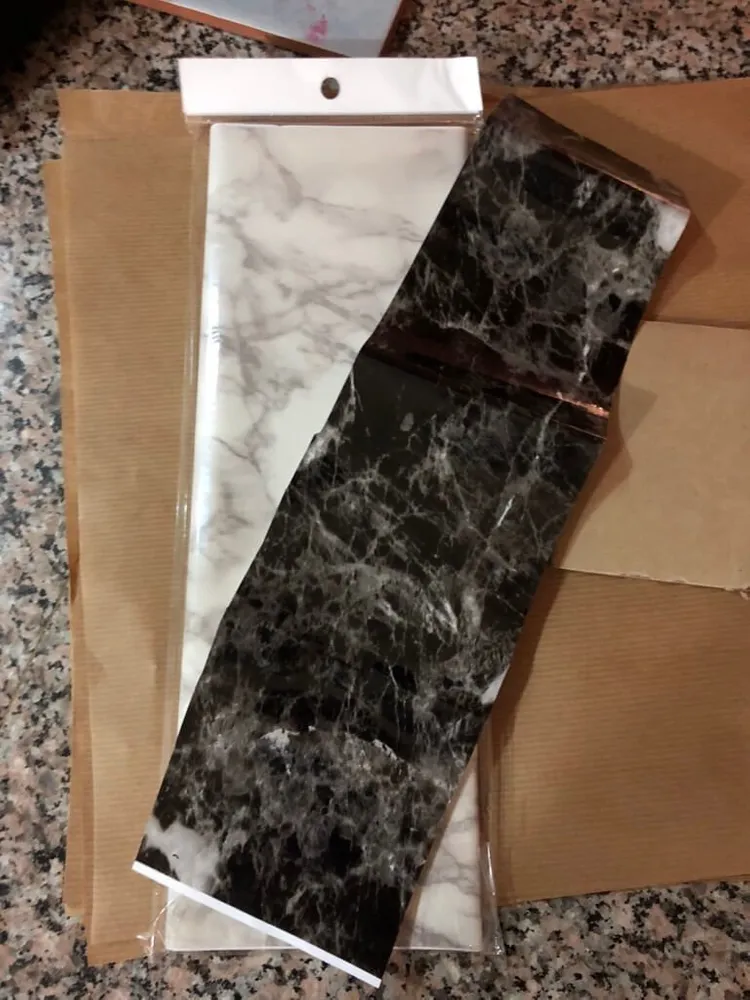
대리석 프린트 스티커
나이프 또는 커터
스티커를 부드럽게 하기 위한 판지
 |
 |
| IKEA GLADOM 트레이테이블(4가지색상) 제품 자세히보기 |
모로토우 fine-art 스프레이 페인트 골드 제품 자세히보기 |
 |
 |
| 모로토우 fine-art 스프레이 페인트 블랙 제품 자세히보기 |
현대시트 인테리어필름 시트지 제품 자세히보기 |
이케아 제품 해킹하기
테이블이 깨끗한 지 확인하고 모든 스티커를 제거하십시오.
Make sure the table is clean and remove all stickers.

하단 다리 부분은 금색이고 트레이는 검은색으로 스프레이 페인트 하려 합니다. 일단 스프레이를 뿌려서 페인트를 칠하기 때문에 밖에서 하시길 권합니다.. 먼저 한 면을 스프레이로 칠하고 몇 시간 후 두 번째는 코팅이 완전히 건조되었는지 확인하면서 진행을 합니다.
The lower leg parts are gold, and the trays are about to be spray painted black. I recommend that you do it outside, because once you spray it and paint it, you spray it on one side first, and after a few seconds, check that the coating is completely dry before proceeding.


다음으로 트레이에 대리석 시트지 필름을 붙였습니다. 시트지를 붙이기 전에 먼저 테이블을 깨끗이 닦으세요. 왜냐하면 먼지 또는 이물질이 있을 경우 도들 거리 거나, 접착이 잘 안될 수 있습니다. 한쪽 끝에서 시작해서 다른 쪽 끝까지 천천히 부드럽게 부착했습니다.
Next, I glued the marble sheeting film to the tray. Wipe the table clean before pasting the sheets. Because if there is dust or foreign substances, it may become sticky or the adhesion may not be good. I started at one end and slowly and gently applied it all the way to the other.

사진에 나온 스티커는 30 × 80cm이므로 테이블보다 길고 좁습니다. 그래서 세 부분으로 나누어 적용했습니다. 되도록이면 기존에 시트지들은 마 단위로 팔기 때문에 넉넉하게 너비 90cm 이상으로 구입하면 좋을 것 같아요.
칼이나 커터를 사용하여 가장자리를 자르고 예쁘게 부착합니다.
The sticker in the photo is 30 × 80 cm, so it is longer and narrower than the table. So I divided it into three parts. so I think it would be better to purchase them with a width of 90cm or more.
Use a knife or cutter to cut the edges and attach them nicely.

모든 작업이 마무리되었답니다~! 몇 시간밖에 걸리지 않았고 최종 결과물은 놀랍습니다. 유의할 점은 가장 까다로운 부분이 시트지 부탁이라는 것입니다. 시트지 부착하는 것이 익숙지 않다면, 주위에 도움을 받아보세요~!
그럼 오늘도 해피 해킹!
All work has been completed! It only took a few hours and the end result is amazing. If you are not used to
attaching sheet paper, get help from those around you!
Then Happy Hacking today!
본 게시글은 ikeahackers.net 의 허락을 받아 작성되어진 글입니다. 원작자 및 ikeahackers.net 의 동의없이 사용 할 수 없습니다.
This post was written with the permission of ikeahackers.net. It may not be used without the consent of the original author and ikeahackers.net.
Attribution by Reem Wassef
https://www.ikeahackers.net/2021/03/floating-cat-shelves-ikea.html
'HACKS' 카테고리의 다른 글
| 우리 아이를 위한 전시 액자 만들기 (0) | 2021.06.01 |
|---|---|
| 실내 클라이밍(암벽등반) 벽걸이 만들기 (0) | 2021.05.31 |
| 세상의 하나 뿐인 시계를 만들고 싶다면? (0) | 2021.05.29 |
| LACK 라크 를 사용하는 5가지 방법 (0) | 2021.05.27 |
| DIY 나만의 자녀 책상 만들기 (0) | 2021.05.27 |


