안녕하세요 이케아 해커스의 아스키입니다. 이번에 소개할 이케아 해킹 제품은 타공판을 이용한 네트워크 수납함을 만드는 법을 소개하고자 합니다.
보통 인터넷을 이용하기 위해 사용되는 와이파이 공유기와 허브를 이용하게 되는데요, 홈 멀티미디어를 이용하기 위해 개인용 NAS까지 이용하는 등 점점 네트워크와 관련된 장비를 많이 사용하게 되는 것이 사실입니다. 그러다 보니, 다양해지는 멀티미디어 장비를 보관하게 되는 공간이 필요하게 되었지요, 하지만 아시다시피 우리가 사는 아파트에 정리할 수 있는 공간이 그렇게 많지 않은 것이 사실입니다.
그래서 이번에 소개할 해킹 제품이 쉽게 만들 수 있고 또한 수많은 네트워크 장비를 쉽게 수납, 정리 할 수 있는 편의성을 제공할 수 있을 거예요. 자 그럼 필요한 이케아 제품과 부수 재료에 대해 소개해볼게요.
사용된 IKEA 품목
베스켄 카트 (004.712.22)
스코디스 페그보드 (003.208.03)
SKÅDIS 스코디스 고무줄 (403.216.31)
 |
 |
| VESKEN 카트 제품 자세히보기 |
이케아 페그보드 제품 자세히보기 |
 |
 |
| 스코디스 고무줄 제품 자세히보기 |
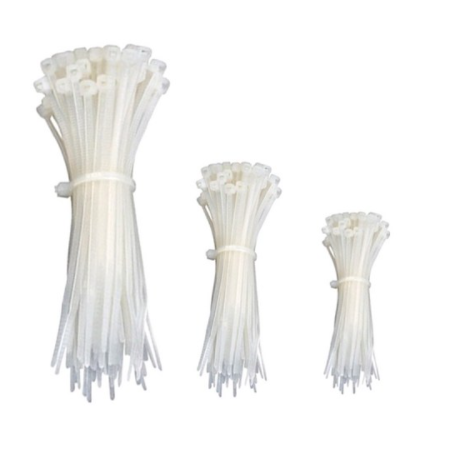
케이블 타이 제품 자세히보기 |
조립방법
1.포함된 지침에 따라 VESKEN 카트를 조립하십시오.
(높이를 추가하려면 VESKEN 카트를 추가로 구입하고 포스트 커버와 캐스터는 한 세트만 사용해야 합니다.)

2. VESKEN 카트 뒤에 SKÅDIS 페그보드를 정렬하고 4개의 집 타이를 사용하여 기둥에 고정합니다.
(중앙 선반 위에 2개, 중앙 선반 아래에 2개)

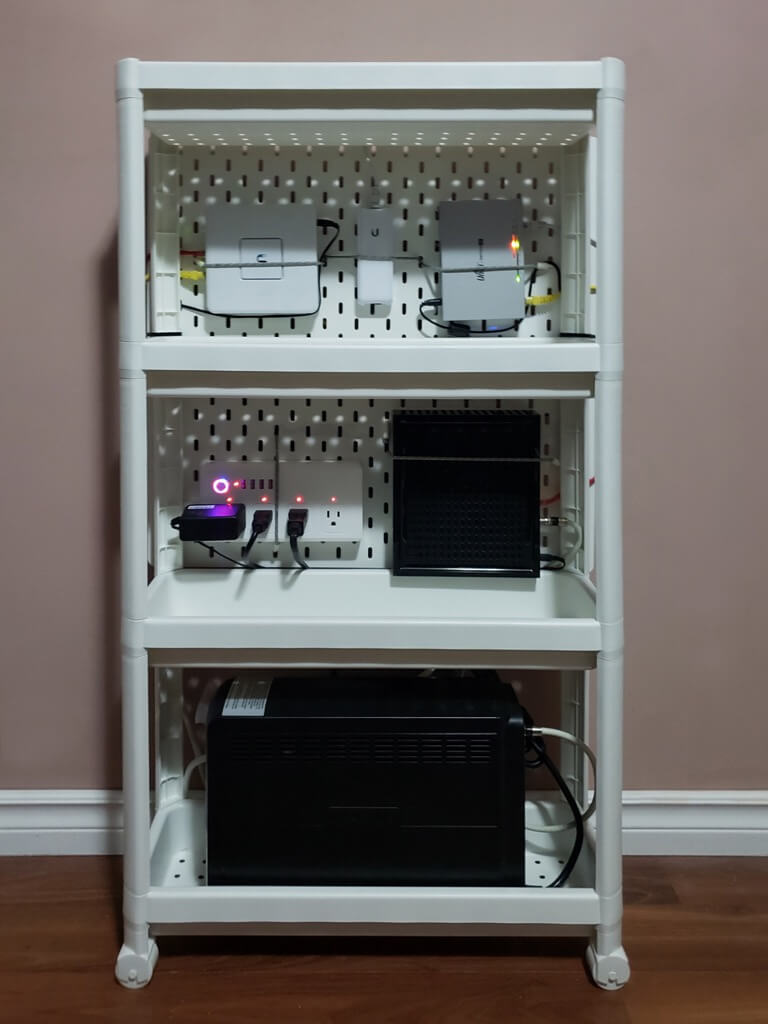
3. 스카디스 고무줄을 사용하여 네트워크 장비를 SKÅDIS 페그보드에 부착하세요.
코드와 전원 어댑터는 페그보드 뒤에 숨길 수 있습니다. 그러나 이렇게 하면 전체 카트가 뒤로 무거워지고 넘어지기 쉽습니다. 따라서 (무거운) UPS 배터리 백업을 수용하기 위해 하단에 또 다른 선반이 추가되어 카트를 수직으로 유지하는 데 도움이 되었습니다.

자 이렇게 하면 멋진 나만의 DIY 홈 네트워크 카트가 완성되었습니다. 멋지고 이동성 편한 네트워크 카트로 오늘도 행복하고 즐거운 해킹 생활하세요.
No matter where I used to put my networking equipment, they either occupied a lot of space or became hard to access, not to mention that the cables tended to get tangled and accumulate dust and spiderwebs. Relocating my networking equipment, as I’ve done a few times before, was also an unpleasant experience, having to gather all the devices, power adapters, and networking cables and sort through what was what.
Having seen structured media enclosures in new homes, I was inspired to achieve something functionally similar for a DIY project. As I was perusing IKEA, I came across the VESKEN cart and the SKÅDIS pegboard separately and my mind immediately jumped to combining the two, because they looked similar in size.
However, the width of the pegboard is actually 0.75″ wider than the width of the cart, and I left, dismayed. When my router’s power adapter overheated and failed in Vancouver’s 2021 summer heatwave though, I decided to revisit the project.
I initially tried to mount the SKÅDIS pegboard into a cheap LAIVA bookshelf, but it was not very aesthetically pleasing to look at, and it defeated my objective of saving space: I now had a random bookshelf occupying even more room. When I next passed by the VESKEN cart again, I deliberated whether or not the difference in widths was that big of a deal: a difference of 0.75″ meant half of that, or 3/8″ sticking out from either side. I decided to give it a shot. The VESKEN cart didn’t look like it could hold up to drilling into either the plastic shelves or the posts, but the SKÅDIS was riddled with holes, so I decided to fasten the pegboard to the cart using zip-ties. From there, I mounted my networking equipment onto the pegboard and stood it up … only to discover the weight of the equipment and power adapters near the back of the entire assembly made it prone to falling backwards.
Back to IKEA I went and purchased another VESKEN cart, using only one set of legs and a shelf to raise the cart by another tier, and I placed a UPS battery backup at the bottom, ensuring the cart would never tip over. Since assembling my home networking cart, I’ve received multiple requests to build them for others, so I thought I would inspire others to build one for themselves.
본 게시글은 ikeahackers.net의 허락을 받아 작성되어진 글입니다. 원작자 및 ikeahackers.net 의 동의 없이 사용할 수 없습니다.
This post was written with the permission of ikeahackers.net. It may not be used without the consent of the original author and ikeahackers.net.
Attribution by Thomas
https://ikeahackers.net/2021/08/home-networking-cart.html
'HACKS' 카테고리의 다른 글
| 이케아 데스크탑 수납장 제작하기 (0) | 2021.11.17 |
|---|---|
| 값싸고 멋진 애견 집 + 책상 만들기 (2) | 2021.10.18 |
| 올인원 맥주병 건조대 만들기 (0) | 2021.06.18 |
| 이케아 옷걸이 하나로 멋진 자전거 거치대를 만드는 법 (0) | 2021.06.11 |
| 나만의 멋진 독립형 욕실 세면대 만들기 (0) | 2021.06.09 |


